
The TCP/IP Telnet network protocol has been around for decades (created in 1969) and is still used today. Meaning “terminal network or telecommunication network”, telnet is often associated with Windows but Microsoft is not the creator. Used to access network devices or test network communication, Telnet is still used today on servers and workstations. It is used in particular to check that a TCP or UDP port is open on a remote machine, for example to ensure exchanges with a mail server (SMTP, POP, IMAP), a web server (ports 80 and 443), an Oracle DBMS (1521), SQL Server (1433) or PostgreSQL (5432), etc.
The major drawback of Telnet is that it does not encrypt its exchanges, so it is possible to intercept communications and read, in plain text, the passwords used. In this, the SSH protocol has largely replaced it in remote command line access.
If Telnet is a free tool, it is not necessarily preinstalled on Windows Server 2019. Microsoft embeds it in the operating system but there is a manipulation to be done to activate it. This tutorial explains how install and enable telnet client on windows server 2019. Easy to install, free and nothing to download from the internet.
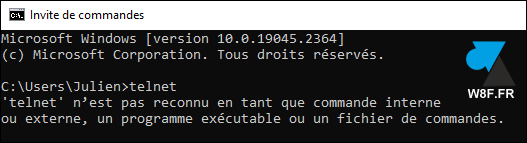
When Telnet is not yet activated, that is to say in the default configuration of Windows Server 2019, the following message is displayed when this utility is called from a cmd: “telnet is not recognized in as an internal or external command, executable program or batch file”.
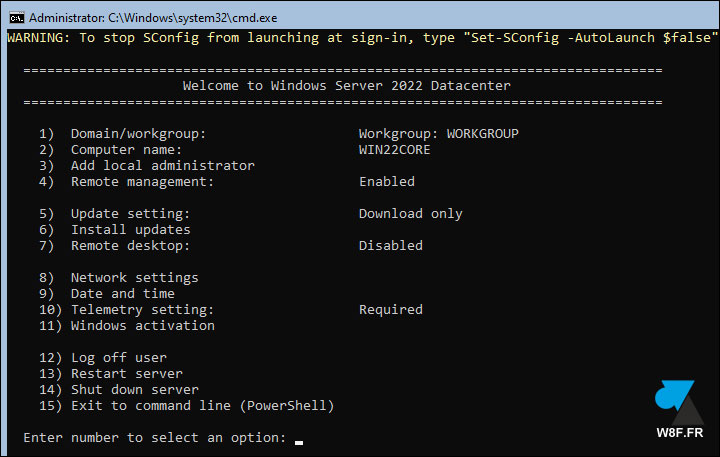
If the need for the telnet client is on a workstation, tutorials exist for install telnet on windows 11 et enable Telnet on Windows 10. On Windows Server 2022 is here.
Windows Server 2019 : installer un client Telnet
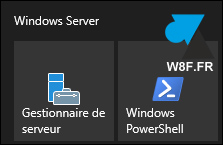
1. Open the start menu and the server manager from the WS19 server.
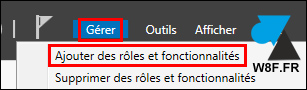
2. At the top right of the program, click on ” Manage » then on « Add roles and features » :
3. Click on Following.
4. Leave checked “ Role-based or feature-based installation » et Following.
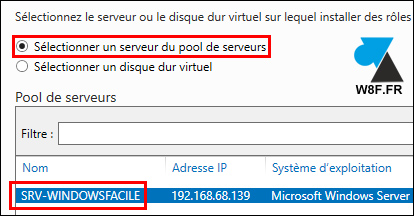
5. Let “ Select a server from the server pool with the correct server selected:
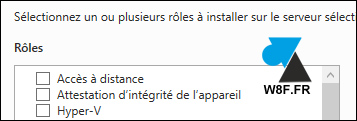
6. Do not modify anything on the “Roles” screen, ie do not check anything more than is already checked. So we don’t touch anything and we click on Following.
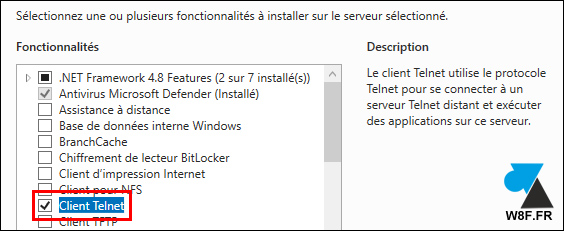
7. Then, at “Features”, tick line ” Client Telnet » and click on Following :
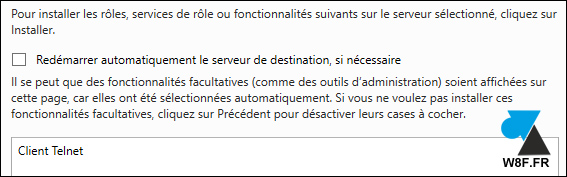
8. The next screen confirms that the Telnet client will be added. No need to check the automatic restart option since the installation of the Telnet client does not require it.
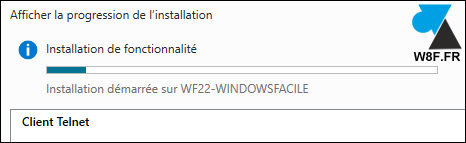
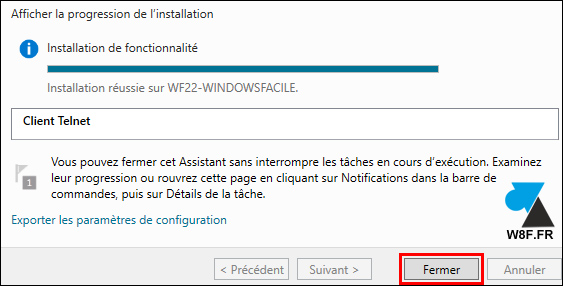
9. Click on “ Installer to start the process and see the progress of installing the Telnet client:
10. Once the “Installation successful” message is displayed below the progress bar, click on the “Installation successful” button. Close to return to the server manager.
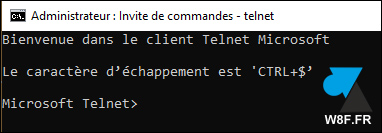
11. The telnet tool is now available from a Command Prompt (cmd).
Leave a Comment