
If you regularly handle external hard drives and USB sticks, you have already noticed that each device takes on a letter of the alphabet, following what is already in use. If your PC is equipped with an SSD system disk (the C), a DVD reader (the D), the first USB key plugged in will take the letter E, the next disk will be in F, etc. Ditto if you only have one SSD for Windows, the first device added will be in D, then in E, etc.
If the letters change from day to day, it may be a problem for your use. For example, the automatic backup can no longer be done if your dedicated hard disk no longer has the same letter, since the application of backup will not find the correct device on the defined letter. This is only one example among many others which require to fix a letter of the alphabet for an external peripheral, not connected permanently.
This tutorial explains how, on Windows 11, assign a fixed letter to a USB flash drive and an external hard drive, or other device that gets a drive letter when you plug it in (photo card reader, SD reader, smartphone, etc.). This operation described for Windows 11 works with all editions (Home, Pro, Education), whether at home or in the office. The manipulation is free, legal and does not require the purchase of software since we are going to use Windows 11 Disk Management.
Assign a fixed letter to a USB device on Windows 11
1. Right click on the start menu and choose ” Disk Management in the list that opens:
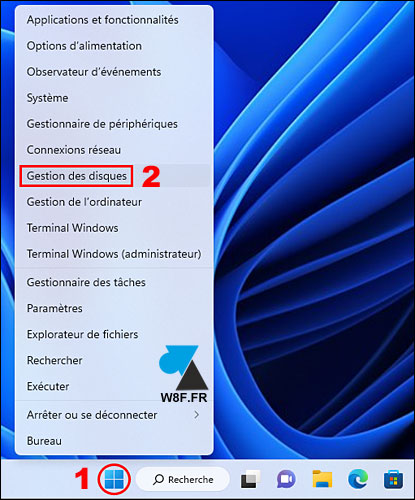
Most geeks can open this console by running “diskmgmt.msc”.
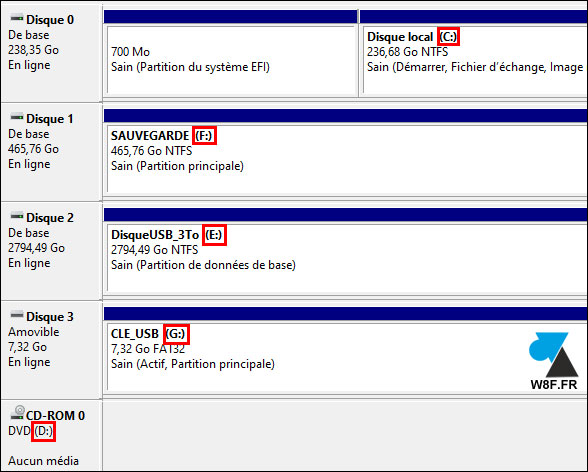
2. On this screen, look at the bottom with each line for another USB device and the currently assigned drive letter.
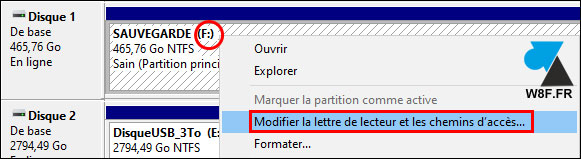
3. In this example, we want to modify the letter F of the backup disk so that it does not change with other connected devices. Make a right click on the letter whose value must be fixed and chosen Change drive letter and paths » :
In the case of a disk with multiple partitions, each partition has its own drive letter. Right-click on the desired partition, it will not affect other partition letters.
4. On the screen that opens, check the letter indicated and click on ” Modifier » :
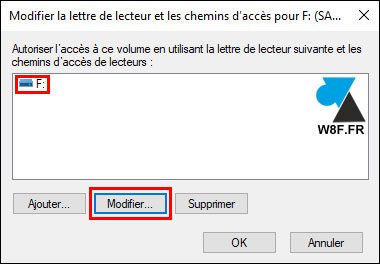
5. Stay on the line “ Assign the following drive letter » and choose, in the list, a letter alphabet free.
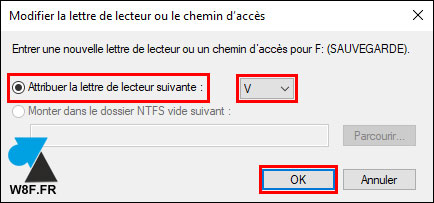
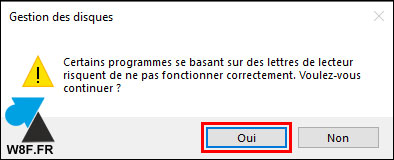
6. Then confirm with ” OK » and confirm the change with « Oui » :
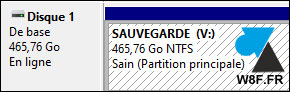
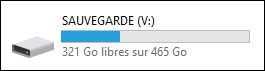
7. The new letter is immediately assigned and will be the same every time this disk, USB key or other type of device is plugged in, even in a different USB port than the current one.
Leave a Comment